> ## Documentation Index
> Fetch the complete documentation index at: https://ade-ac1c6011-dependabot-github-actions-actions-cache-6.mintlify.site/llms.txt
> Use this file to discover all available pages before exploring further.
# Install ADE
> Download ADE for macOS — DMG or Homebrew — launch it, and run in guest mode with no account.
ADE is a native macOS app. Download it, drag it to Applications, and launch — no account required. You can be in a project in under a minute.
 ## Requirements
Apple Silicon or Intel. ADE ships as a signed, notarized macOS app.
Required — ADE uses branches and worktrees to run lanes.
Needed to run agents. Connect it after launch — guest mode lets you explore first.
## Install
The fastest path is Homebrew. Prefer a download? Grab the DMG from GitHub Releases.
```bash theme={null}
brew install --cask arul28/ade/ade
```
This taps the ADE cask and installs the latest macOS build into `/Applications`. Update later with:
```bash theme={null}
brew upgrade --cask ade
```
1. Open [GitHub Releases](https://github.com/arul28/ADE/releases/latest) and download the latest ADE macOS `.dmg`.
2. Open the DMG and drag **ADE.app** into `/Applications`.
3. Launch ADE from `/Applications` or Spotlight. If macOS asks for confirmation, choose **Open**.
## Launch and explore
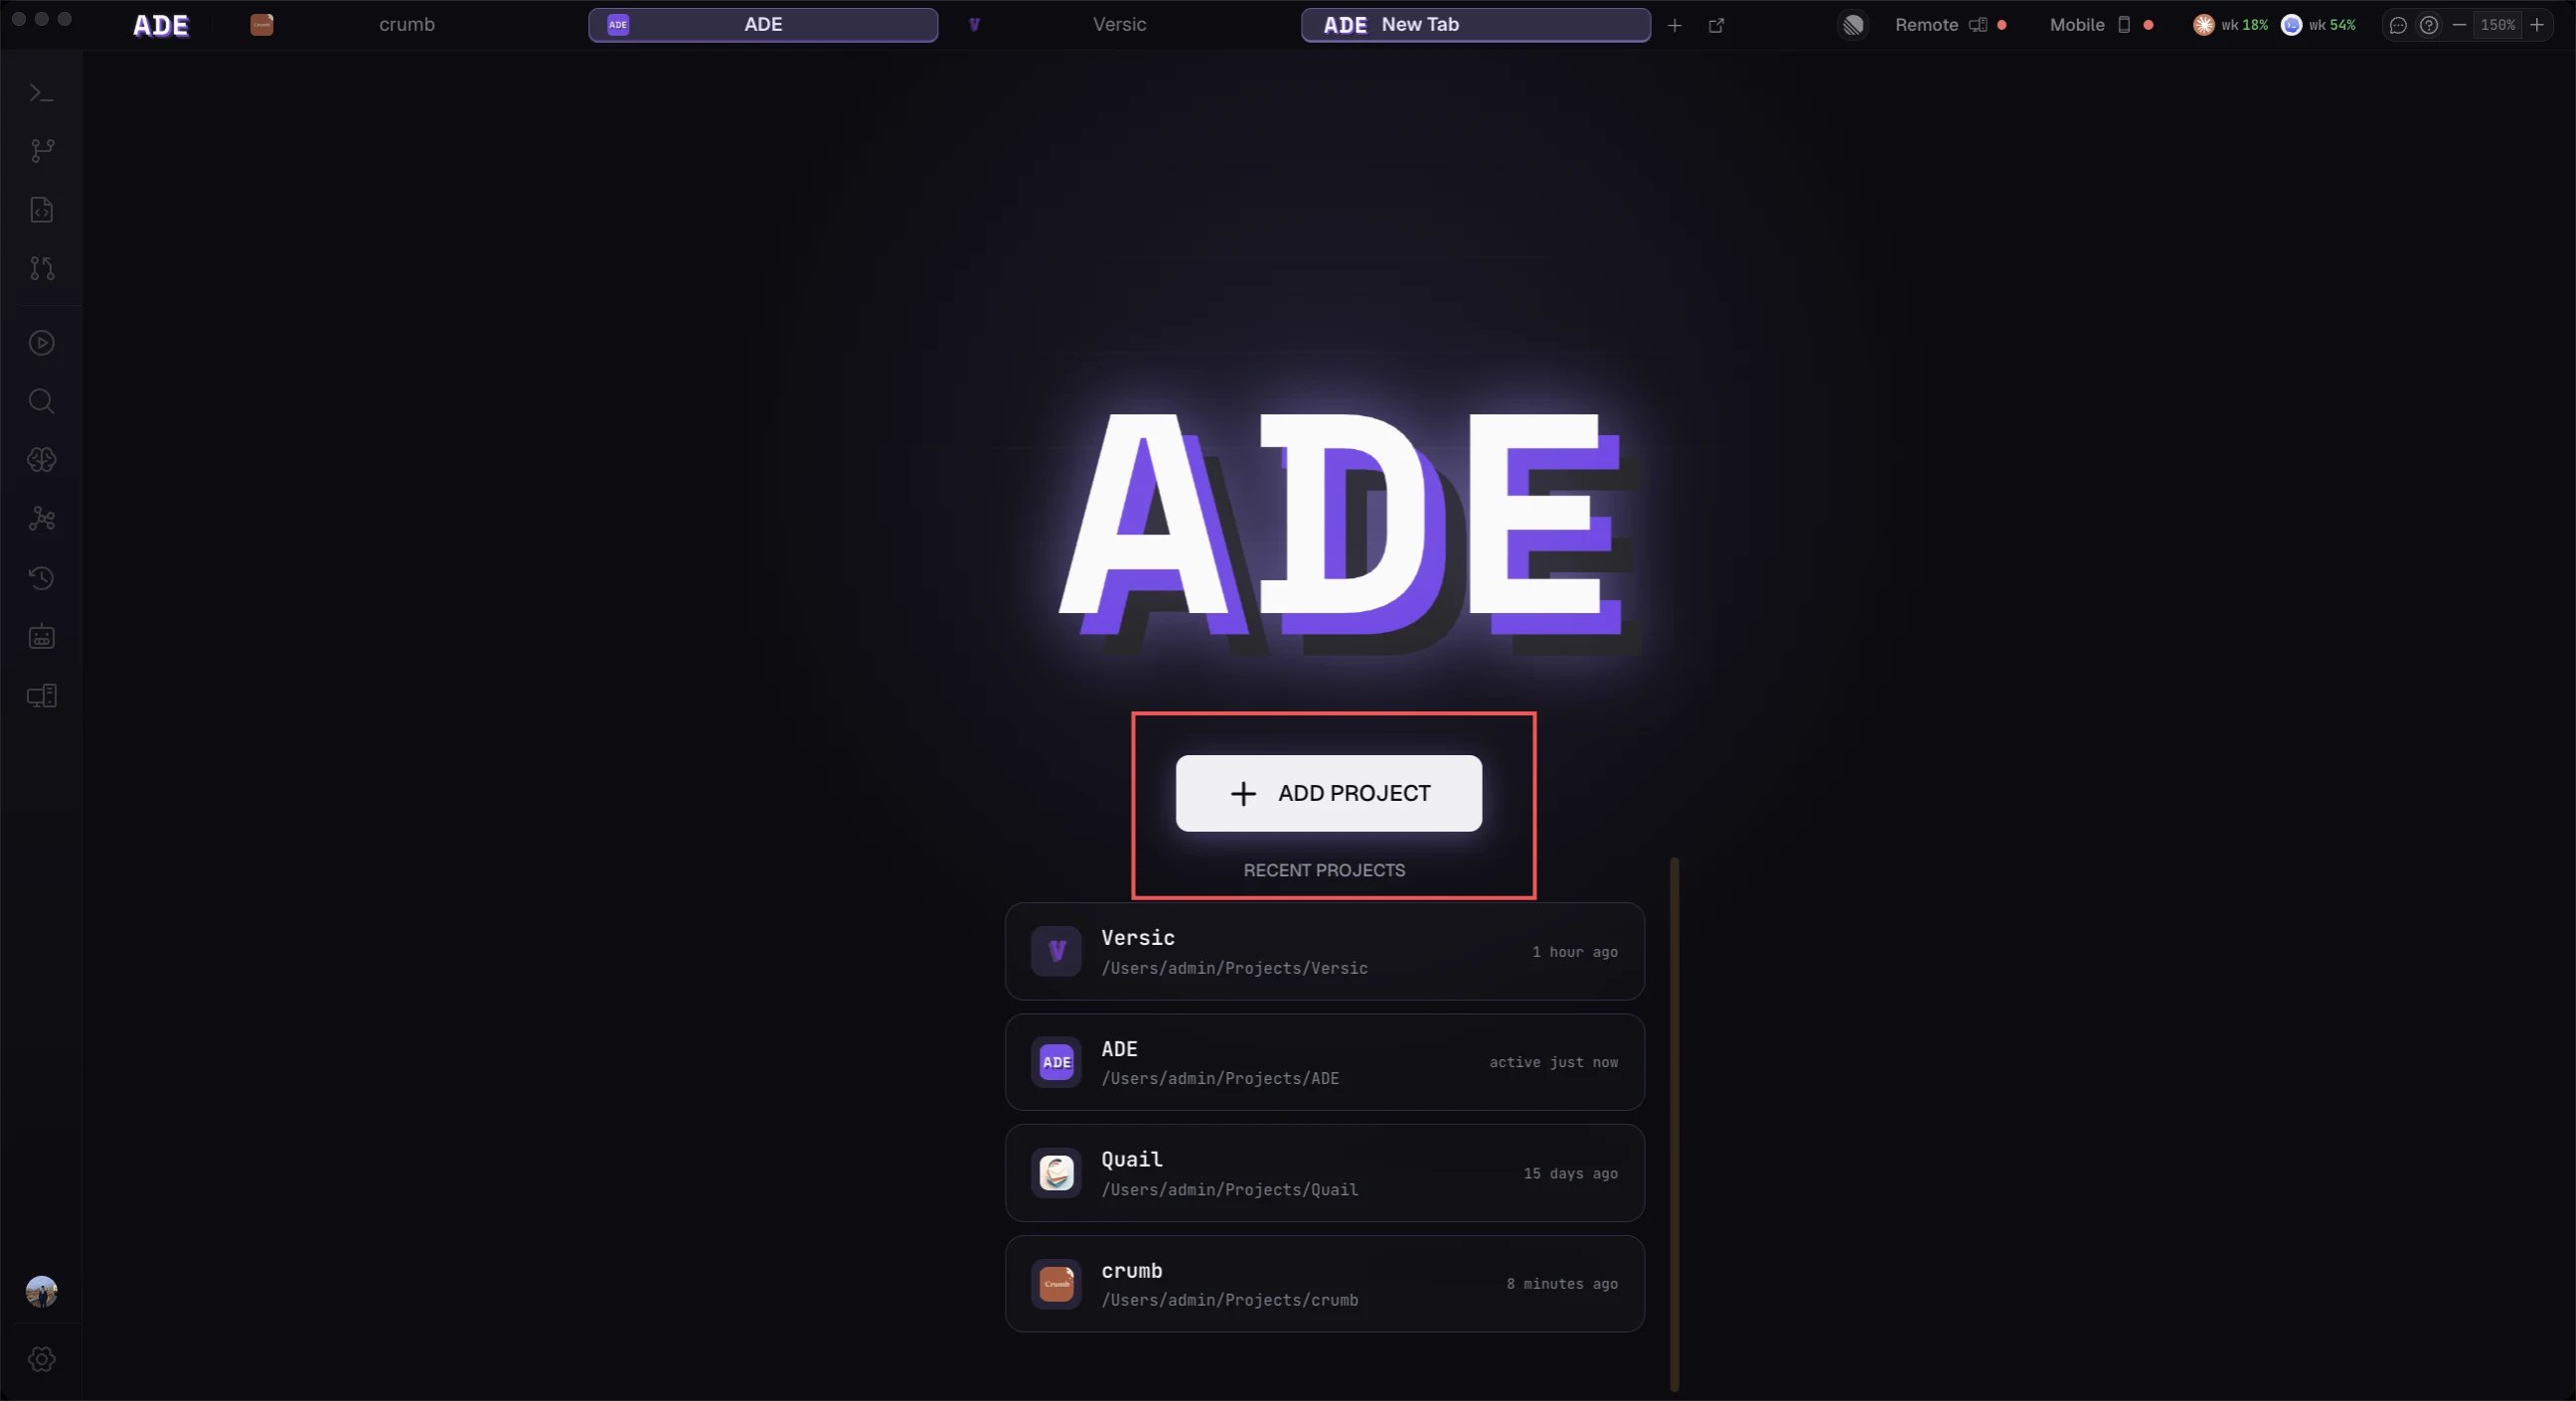
Open ADE and you land on the welcome screen. ADE starts in **guest mode** — no sign-up, no account — so you can add a repository and look around right away. Connect a provider whenever you're ready to run agents.
ADE keeps itself current with a built-in auto-updater: it downloads new releases in the background and applies them on relaunch. Installed via Homebrew? Run `brew upgrade --cask ade` instead.
ADE is macOS-only today. A Windows build is paused — releases ship for macOS.
## Next
Add Claude Code, Codex, Cursor, Factory Droid, or OpenCode.
Point ADE at the Git repository you want it to manage.
## Requirements
Apple Silicon or Intel. ADE ships as a signed, notarized macOS app.
Required — ADE uses branches and worktrees to run lanes.
Needed to run agents. Connect it after launch — guest mode lets you explore first.
## Install
The fastest path is Homebrew. Prefer a download? Grab the DMG from GitHub Releases.
```bash theme={null}
brew install --cask arul28/ade/ade
```
This taps the ADE cask and installs the latest macOS build into `/Applications`. Update later with:
```bash theme={null}
brew upgrade --cask ade
```
1. Open [GitHub Releases](https://github.com/arul28/ADE/releases/latest) and download the latest ADE macOS `.dmg`.
2. Open the DMG and drag **ADE.app** into `/Applications`.
3. Launch ADE from `/Applications` or Spotlight. If macOS asks for confirmation, choose **Open**.
## Launch and explore
Open ADE and you land on the welcome screen. ADE starts in **guest mode** — no sign-up, no account — so you can add a repository and look around right away. Connect a provider whenever you're ready to run agents.
ADE keeps itself current with a built-in auto-updater: it downloads new releases in the background and applies them on relaunch. Installed via Homebrew? Run `brew upgrade --cask ade` instead.
ADE is macOS-only today. A Windows build is paused — releases ship for macOS.
## Next
Add Claude Code, Codex, Cursor, Factory Droid, or OpenCode.
Point ADE at the Git repository you want it to manage.