> ## Documentation Index
> Fetch the complete documentation index at: https://ade-ac1c6011-dependabot-github-actions-actions-cache-6.mintlify.site/llms.txt
> Use this file to discover all available pages before exploring further.
# Open your first project
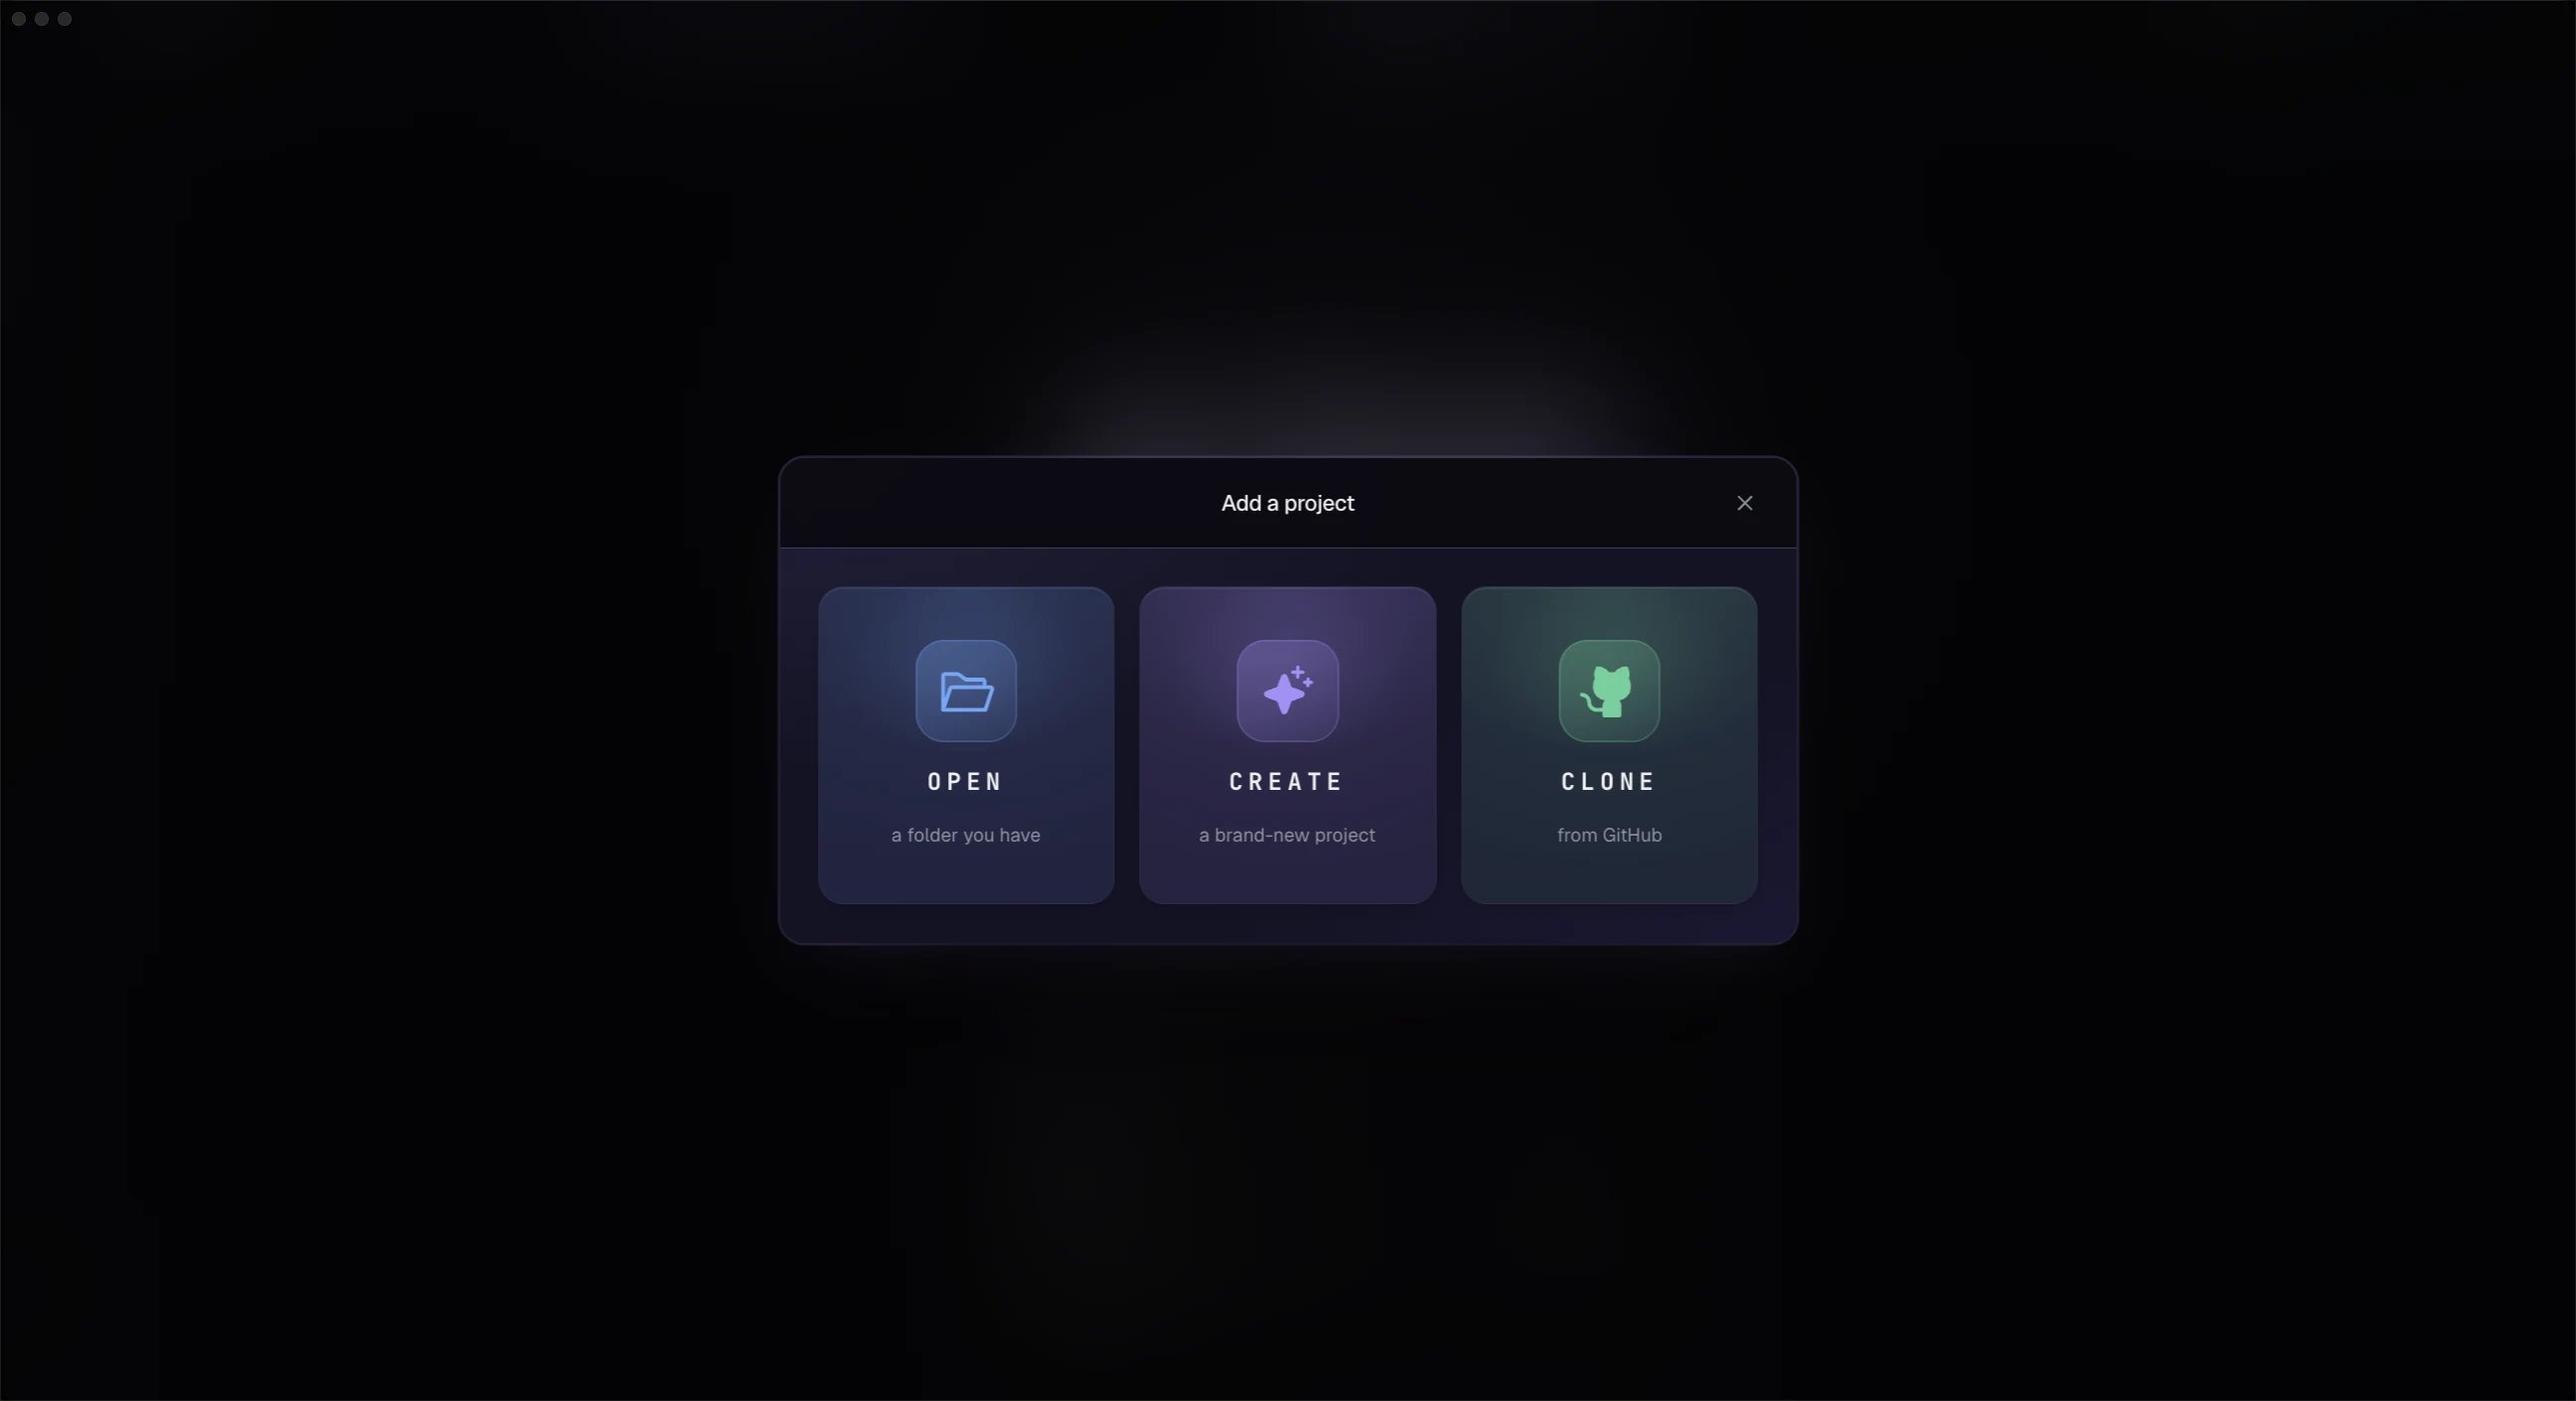
> Point ADE at a Git repository — open a local folder or clone from GitHub — and let it create local project state.
Use **Open Repository** on the welcome screen or press `Cmd+O`. Choose the root of a Git repository, or clone one straight from GitHub. If you pick a subfolder, ADE finds the repository root automatically.
 ## What ADE creates
On first open, ADE creates a local `.ade/` directory:
```text theme={null}
.ade/
ade.db
worktrees/
artifacts/
cache/
secrets/
```
This holds local runtime state, lane worktrees, transcripts, proof, and credentials. It should normally be gitignored.
Your repository root becomes the **primary lane** — it always exists and is edit-protected. Every other lane you add is a separate worktree under `.ade/worktrees/`, so agent work never touches your main checkout until you choose to merge it.
Do not commit `.ade/` wholesale. It contains machine-local paths and state. If your project needs shared ADE defaults later, use the project configuration flow rather than committing local secrets or runtime files.
## First setup
The setup flow checks the basics:
* Git is installed.
* At least one AI provider is ready.
* GitHub is available if you want PR management.
* Linear is available if your team uses it.
* Optional mobile pairing can be configured later in Settings.
You can skip any step and return to it from **Settings**.
## After opening
Create a lane before running your first agent. That keeps your primary checkout clean and gives the task its own branch and worktree.
Start isolated work for a small task.
Make sure at least one agent is ready to run.
## What ADE creates
On first open, ADE creates a local `.ade/` directory:
```text theme={null}
.ade/
ade.db
worktrees/
artifacts/
cache/
secrets/
```
This holds local runtime state, lane worktrees, transcripts, proof, and credentials. It should normally be gitignored.
Your repository root becomes the **primary lane** — it always exists and is edit-protected. Every other lane you add is a separate worktree under `.ade/worktrees/`, so agent work never touches your main checkout until you choose to merge it.
Do not commit `.ade/` wholesale. It contains machine-local paths and state. If your project needs shared ADE defaults later, use the project configuration flow rather than committing local secrets or runtime files.
## First setup
The setup flow checks the basics:
* Git is installed.
* At least one AI provider is ready.
* GitHub is available if you want PR management.
* Linear is available if your team uses it.
* Optional mobile pairing can be configured later in Settings.
You can skip any step and return to it from **Settings**.
## After opening
Create a lane before running your first agent. That keeps your primary checkout clean and gives the task its own branch and worktree.
Start isolated work for a small task.
Make sure at least one agent is ready to run.